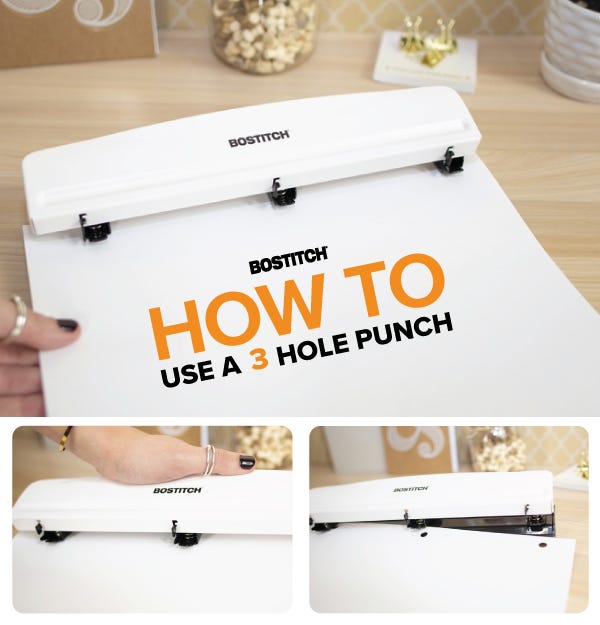
How to Use a 3 Hole Punch
- Oct 12, 2018

A 3 hole punch is an office must-have and a simple way to keep all your documents organized and stable within a binder. The patent for the first hole punch dates back all the way to late 1800s, making it a classic. We know it may seem straightforward to use, but we've shown you how to use a staple remover, so now it's time to learn how to use a 3 hole punch!
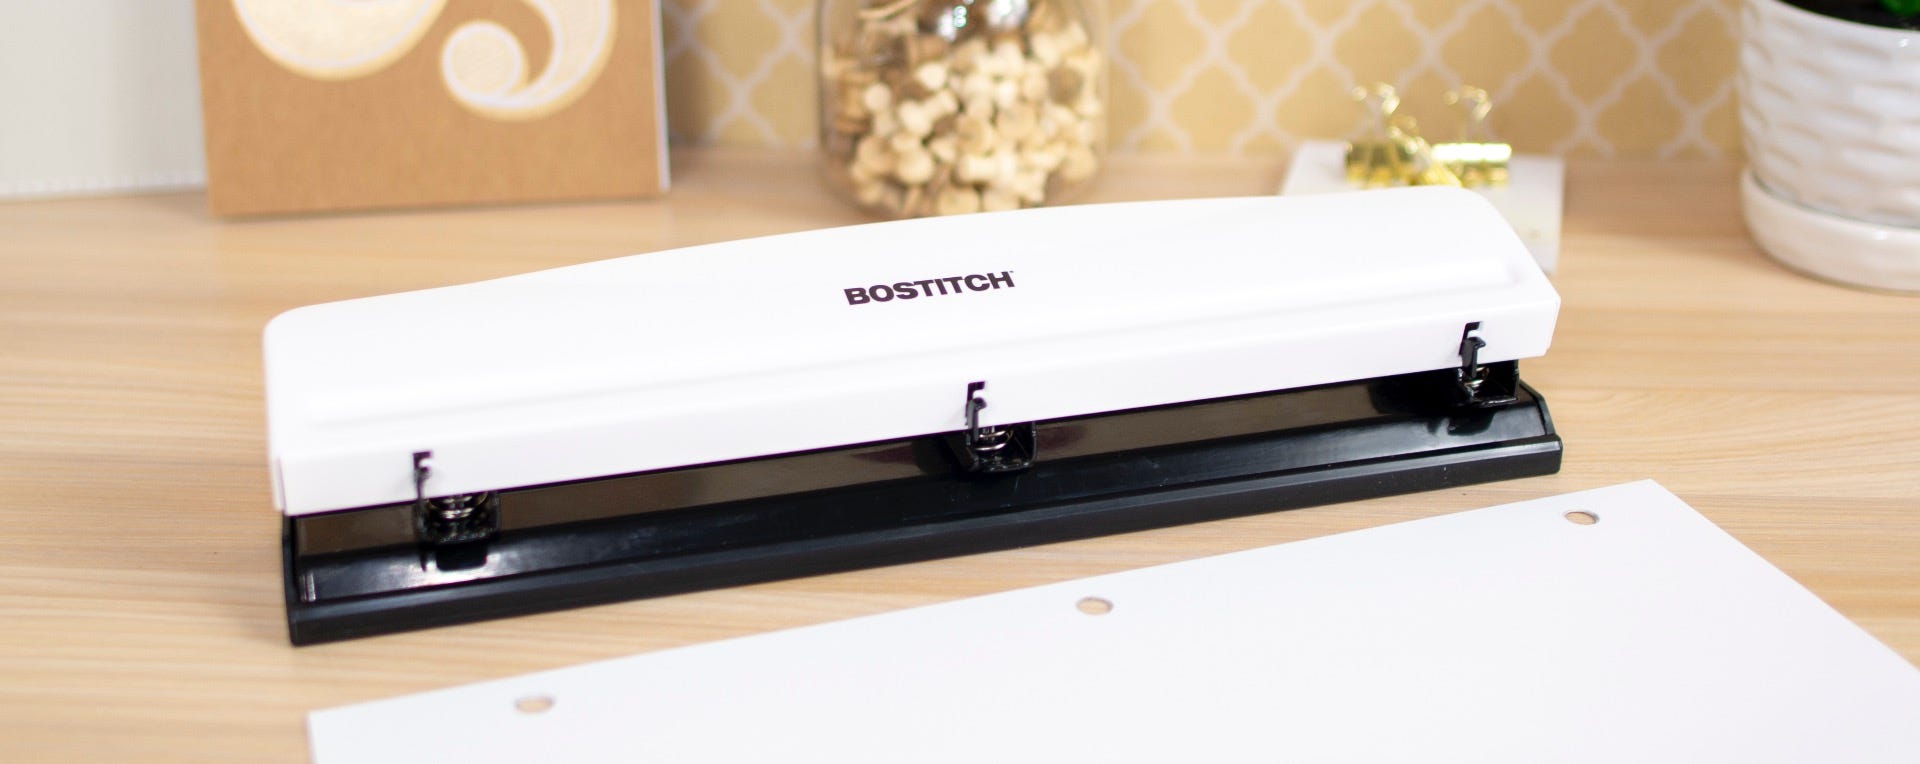
Step 1: Insert the paper document(s) inside the space under the three punch heads. Be sure to use the integrated paper guides to line up the middle of the page with the middle punch head.
Pro Tip!: Make sure you're punching the correct amount of papers compatible with your hole punch's capacity. For example, some units punch through 12 sheets at a time while others are able to push through more. This will ensure the cleanest of holes in all pages.

Step 2: Once your paper is aligned inside the hole punch, push completely down on the top panel. You will hear the metal punch heads slice through the paper. Don't worry - the chip tray will catch all paper chip fallout.
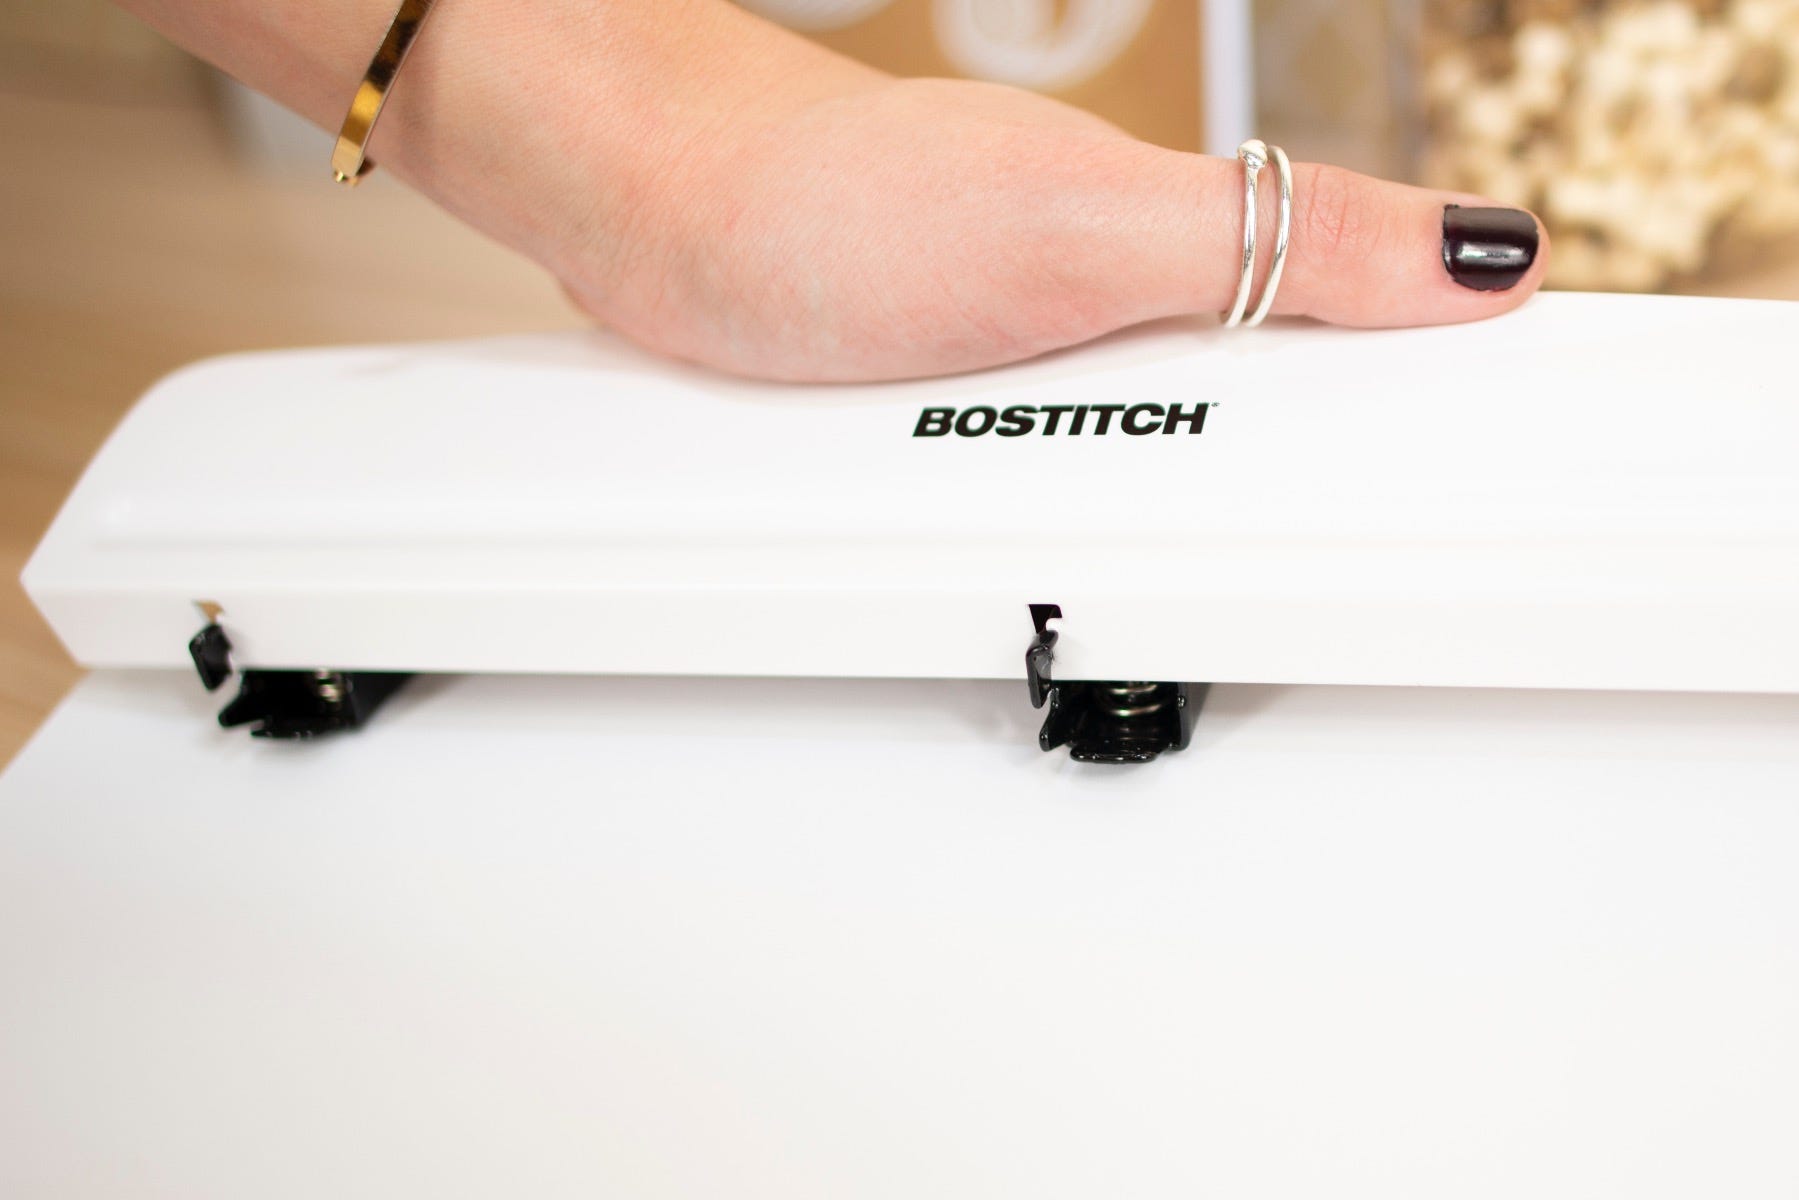
Step 3: Release all pressure off of the top panel and ta-da! Your documents are ready to find their new home in a three-ring binder.
Compact and simple to use describes some of the best office supples, and hole punches are no exception. Even our adjustable heavy-duty hole punch is easy on the wrists. Among our diverse manual hole punches, we also offer a handy, easy-to-operate electric hole punch. Want a guide on how to use that next? Let us know in the comments below!
Pin it!