DIY Pumpkin Carving and Craft Ideas
- Oct 13, 2020

Halloween is approaching and it’s time to start getting in the spooky spirit! After you’ve spent the day picking out your perfect pumpkins at the pumpkin patch, it’s time to get carving! Settle down with some warm apple cider and your utensils to get ready to decorate. Follow our easy, DIY pumpkin carving and craft guide for a Fall day well spent with your family!
1. DIY Halloween Pumpkin Craft
To start your craft, grab some orange and green construction paper and get ready to craft some 3D pumpkins for your at-home decorations!
Materials:
- Orange and green construction paper
- Stanley Guppy 5” Kids Scissors (In orange for the season!)
- Dynamo Compact Stapler (In orange for the season!)
- Multi-Mount Manual Sharpener (In orange for the season!)
- Pencils
Steps:
- First, you’re going to start by laying out the orange construction paper and grabbing your Stanley Guppy 5” Kids Scissors to cut the paper into 6 even strips.
- Once the construction paper has been cut into 6 even pieces, grab your orange Dynamo Compact Stapler and staple the bottom of the strips together.
- Then, you’re going to fold the 6 strips up so that they meet at the top in a 3D circle and staple the top together. Use the scissors to cut a handle with a smaller strip of green construction paper and staple this to the top, creating a stem for your pumpkin.
- Finally, use your orange Multi-Mount Manual Sharpener to sharpen your pencils or colored pencils and draw a face across two of your orange strips, completing your Jack-O’-Lantern!

Craft by Nurture Store.
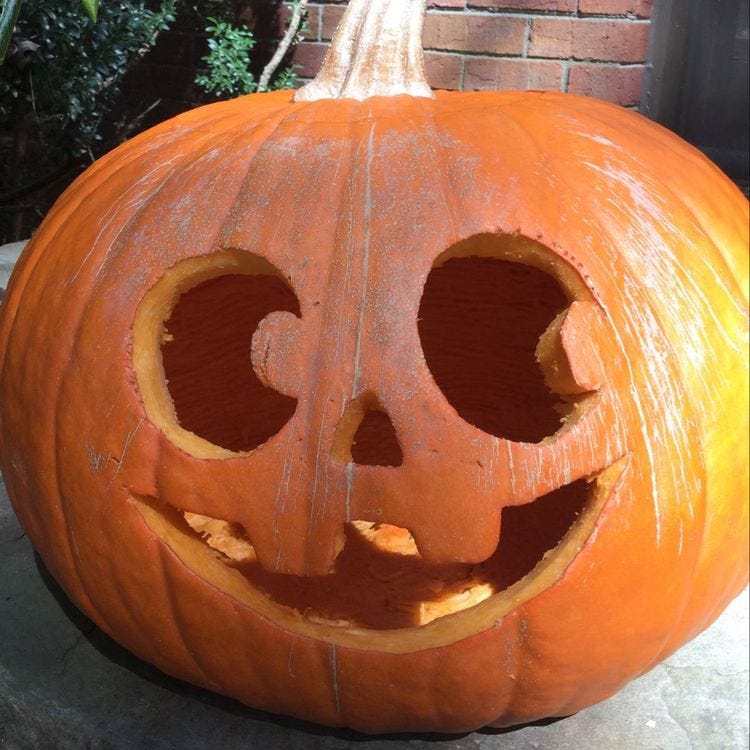
2. Funny Pumpkin Carving Face
Now that you’ve made your DIY craft, it’s time to carve those pumpkins! Follow the steps below to recreate this smiling Jack-O’-Lantern that will brighten up your doorstep!
Materials:
- Pumpkin
- Marker
- Stanley Guppy 5” Kids Scissors (In orange for the season!)
- Spoon
- Serrated bread knife
- Candle
Steps:
- To start, use the serrated bread knife to cut a hole at the top of the pumpkin, preferably around the stem.
- Next, use the spoon to hollow out the inside of the pumpkin. Pro tip: save the seeds to roast for a delicious snack or to add to any salad!
- Once the pumpkin has been hollowed, print out the smiling pumpkin face template, found on Pinterest, and use the Stanley Guppy 5” Kids Scissors to cut out the template! You can also use our Bostitch Office Halloween printables to dress up your pumpkin!
- Use the marker to trace the happy face onto the pumpkin and use the serrated bread knife to cut out the shapes.
- Once the face has been cut, add a candle to the inside so it will glow in the dark and reattach the cut-out stem to the top!
3. Spooky Pumpkin Carving Ideas
Add a haunting touch to your doorstep with this spooky carved pumpkin creation! Follow the steps below to recreate!
Materials:
- Pumpkin
- Marker
- Stanley Guppy 5” Kids Scissors (In orange for the season!)
- Spoon
- Serrated bread knife
- Candle
Steps:
- To start, use the serrated bread knife to cut a hole at the top of the pumpkin, preferably around the stem.
- Next, use the spoon to hollow out the inside of the pumpkin. Pro tip: save the pulp to make a homemade pumpkin pie or sweet treat!
- Once the pumpkin has been hollowed, print out the spooky pumpkin face template, found on Pinterest, and use the Stanley Guppy 5” Kids Scissors to cut out the template!
- Use the marker to trace the spooky face onto the pumpkin and use the serrated bread knife to cut out the shapes.
- Once the face has been cut, add a candle to the inside so it will glow in the dark and give your front porch those spooky vibes!

Tag us on Twitter (@Bostitchoffice) with your carved pumpkins and crafts so we can see how you decorated for the holiday!
Pin it!


