Paper Plate Caterpillar Craft
- Mar 25, 2020

Spring has sprung! Do you know what that means? It's time for another seasonal craft!
So, what craft is it today? A paper plate caterpillar! This project is classroom-friendly and so easy to create, yet we think it's one of the cutest we've done! Take a look!
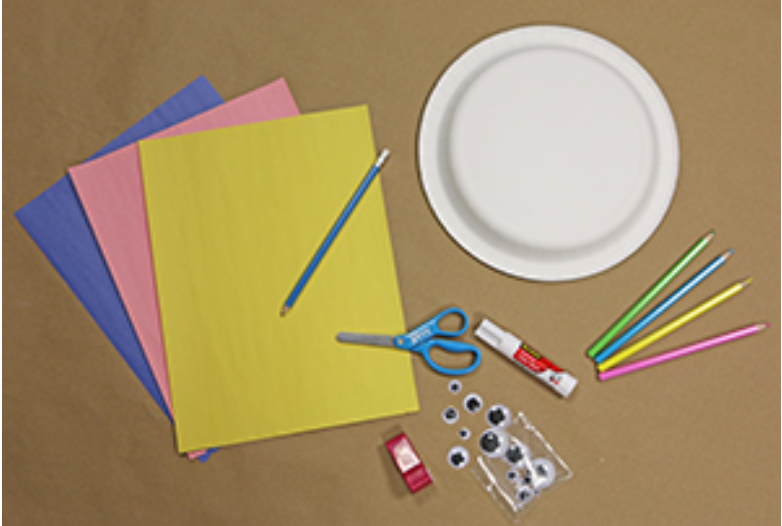
Materials Needed:
- Paper Plate
- Colored Pencils or Markers
- Stanley Guppy™ 5" Kids Scissors
- Mini Stapler
- Colored Paper
- Googly Eyes
- Glue Stick
This craft was inspired by Glued To My Crafts!
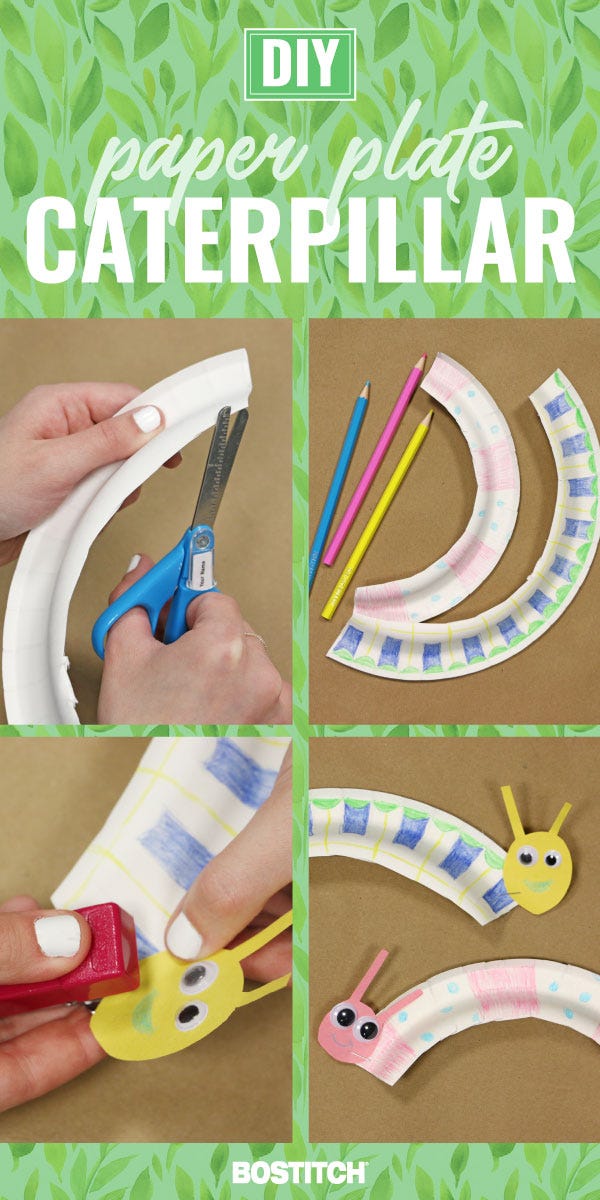
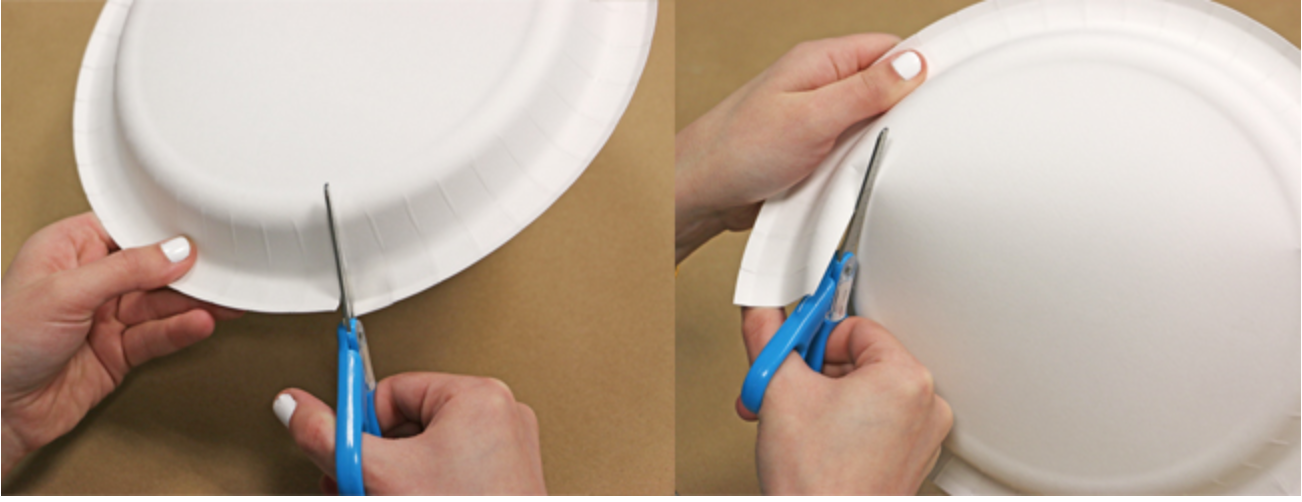
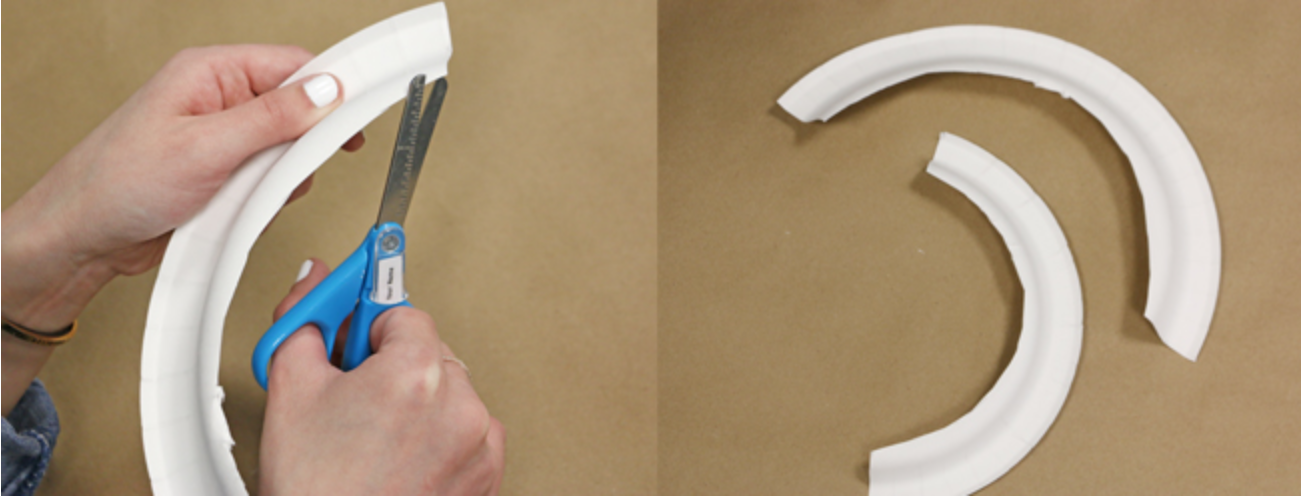
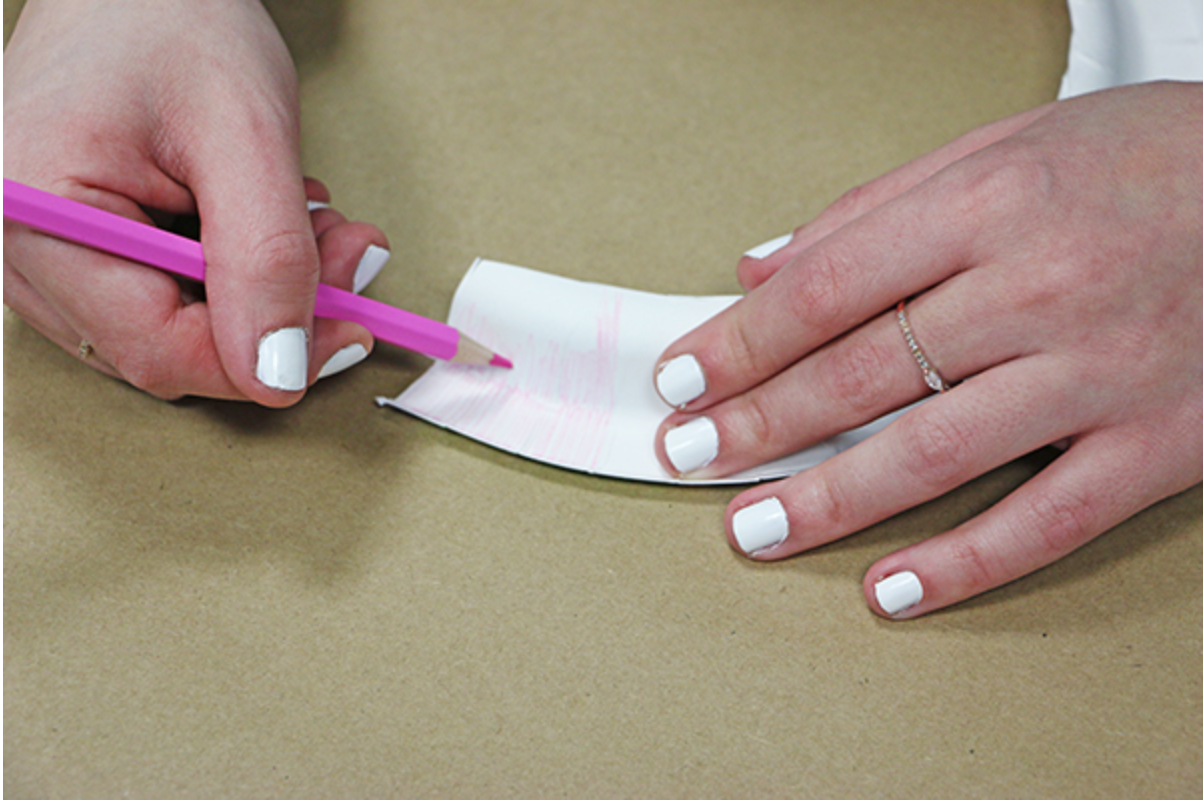
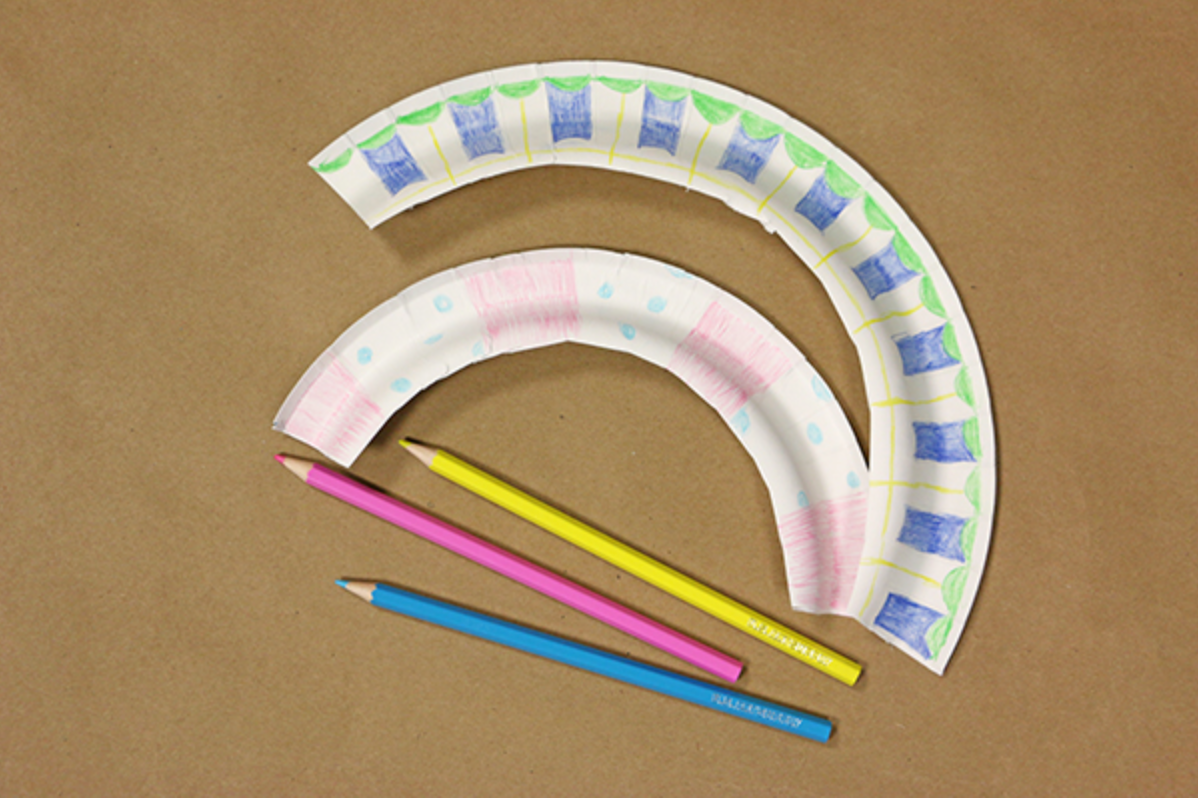
![]() Step 1: Use the scissors to cut half of the plate's rym away. This is the body of your caterpillar! Each plate makes two paper caterpillars.
Step 1: Use the scissors to cut half of the plate's rym away. This is the body of your caterpillar! Each plate makes two paper caterpillars.
![]() Step 2: Next, decorate! Grab your favorite colored pencils, markers or crayons to brighten up your new crawling pal. Get extra wild and add stickers or crafting pom poms.
Step 2: Next, decorate! Grab your favorite colored pencils, markers or crayons to brighten up your new crawling pal. Get extra wild and add stickers or crafting pom poms.
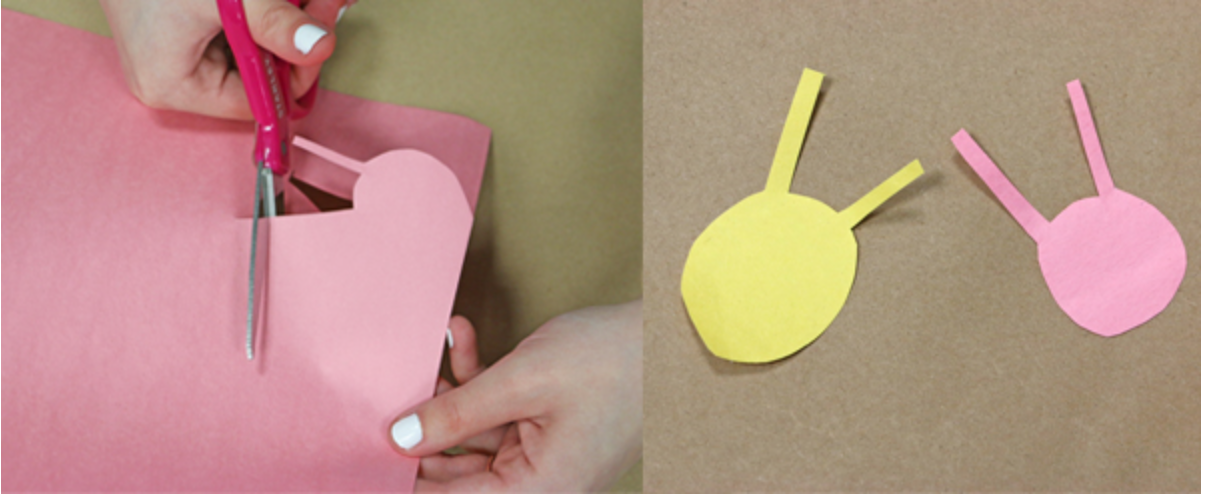
![]() Step 3: Make sure the colored paper is handy because it's time to create the caterpillar heads. We freestyled this process, but you simply want to cut out a round head shape with two antennae on the top. Another option is to use pipe cleaners as the antennae!
Step 3: Make sure the colored paper is handy because it's time to create the caterpillar heads. We freestyled this process, but you simply want to cut out a round head shape with two antennae on the top. Another option is to use pipe cleaners as the antennae!
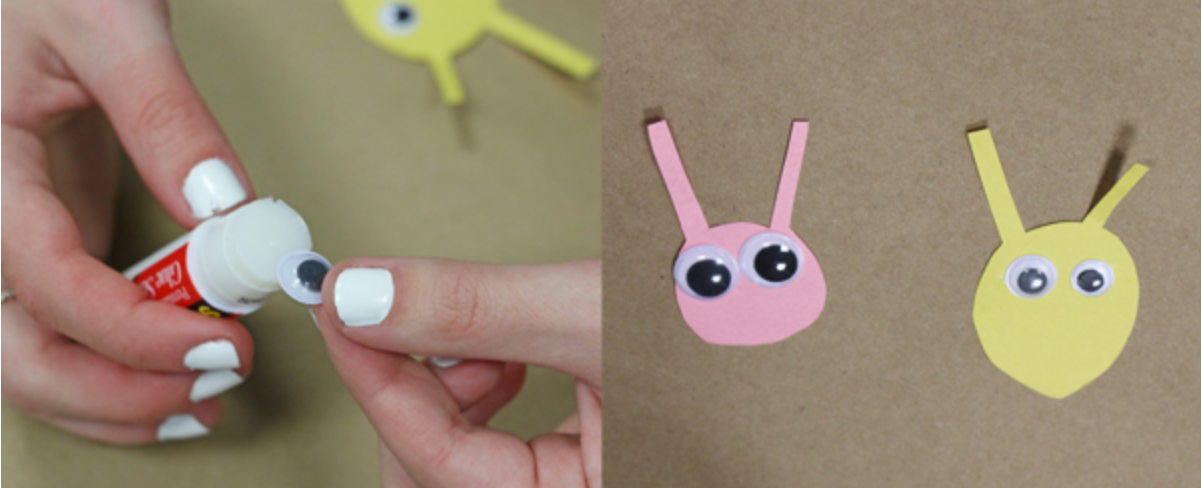
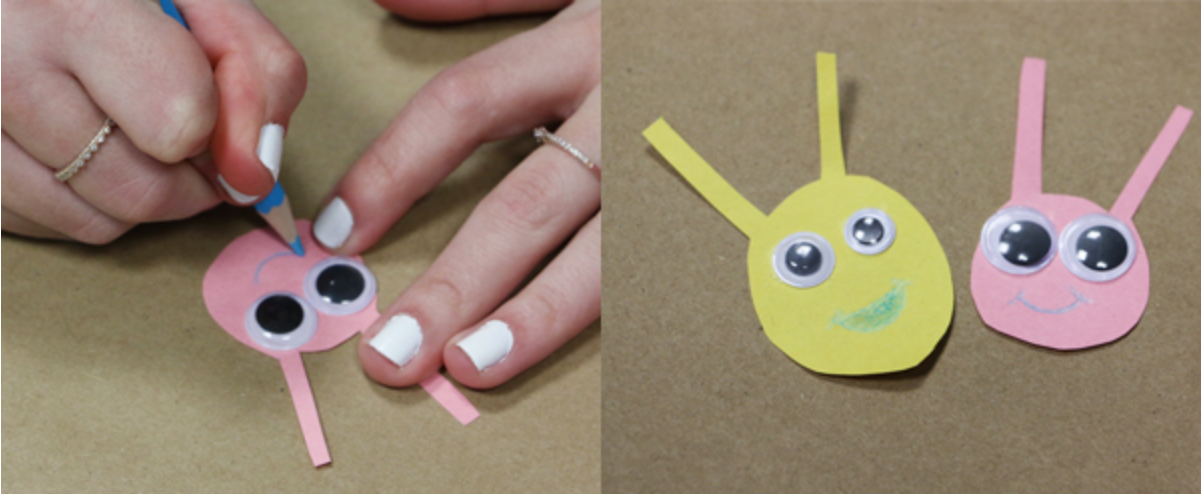
![]() Step 4: Give the faces some eyes by gluing on googly eyes or drawing a pair!
Step 4: Give the faces some eyes by gluing on googly eyes or drawing a pair!
![]() Step 5: Add a mouth to the face! Easy, right?
Step 5: Add a mouth to the face! Easy, right?
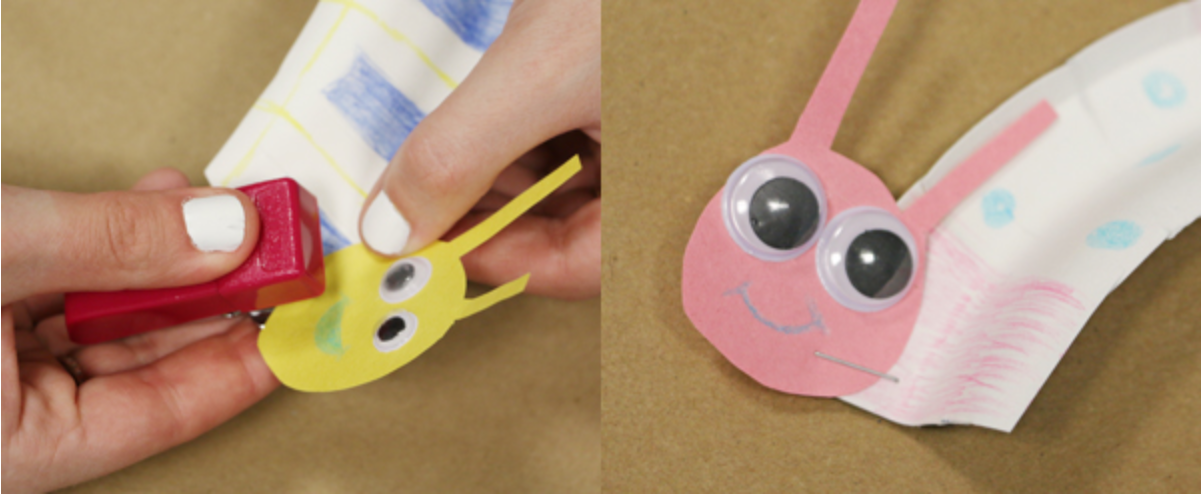
![]() Step 6: Finally, attach the paper head to rest of the body by stapling it to the end of the paper plate rim.
Step 6: Finally, attach the paper head to rest of the body by stapling it to the end of the paper plate rim.
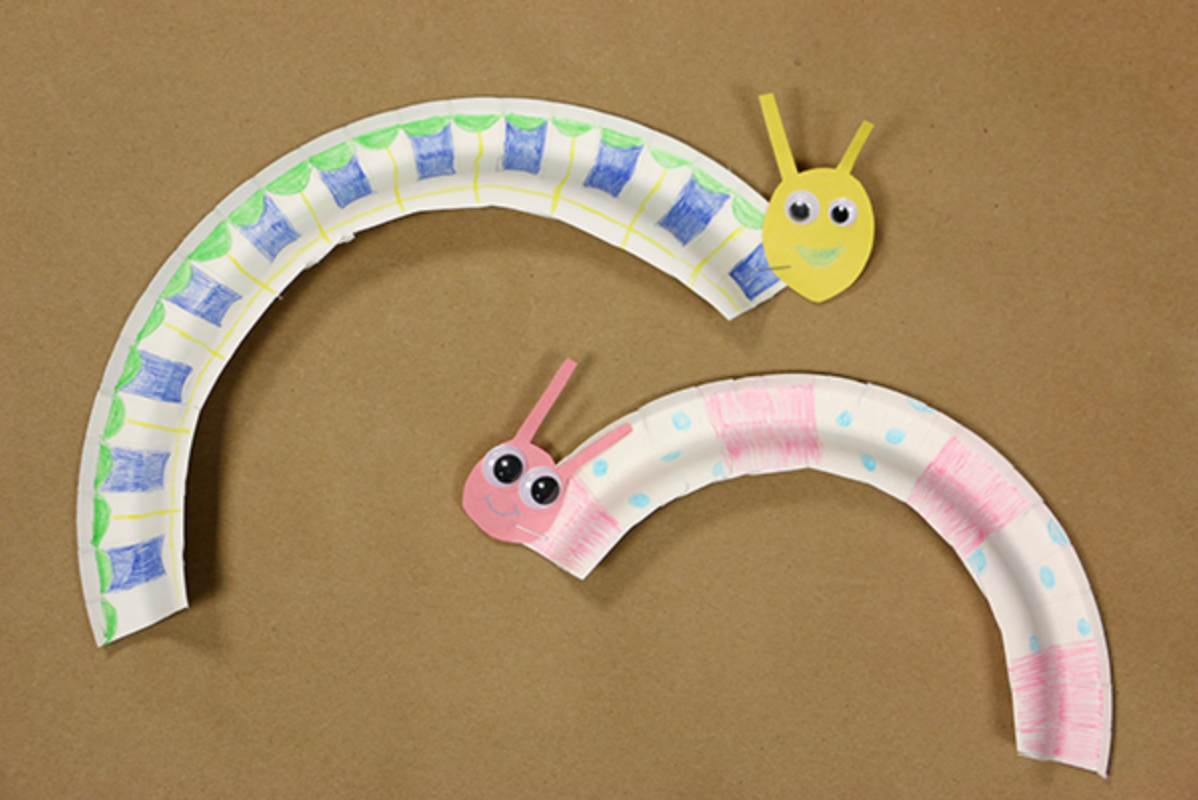
Ta-da! The creation of your new spring time friend is complete! Now all that is left is to enjoy his/her company!
If you made this paper plate caterpillar craft, we want to see! Send us photos and tag us on our Facebook and Twitter! This always makes our day!
Pin it!